
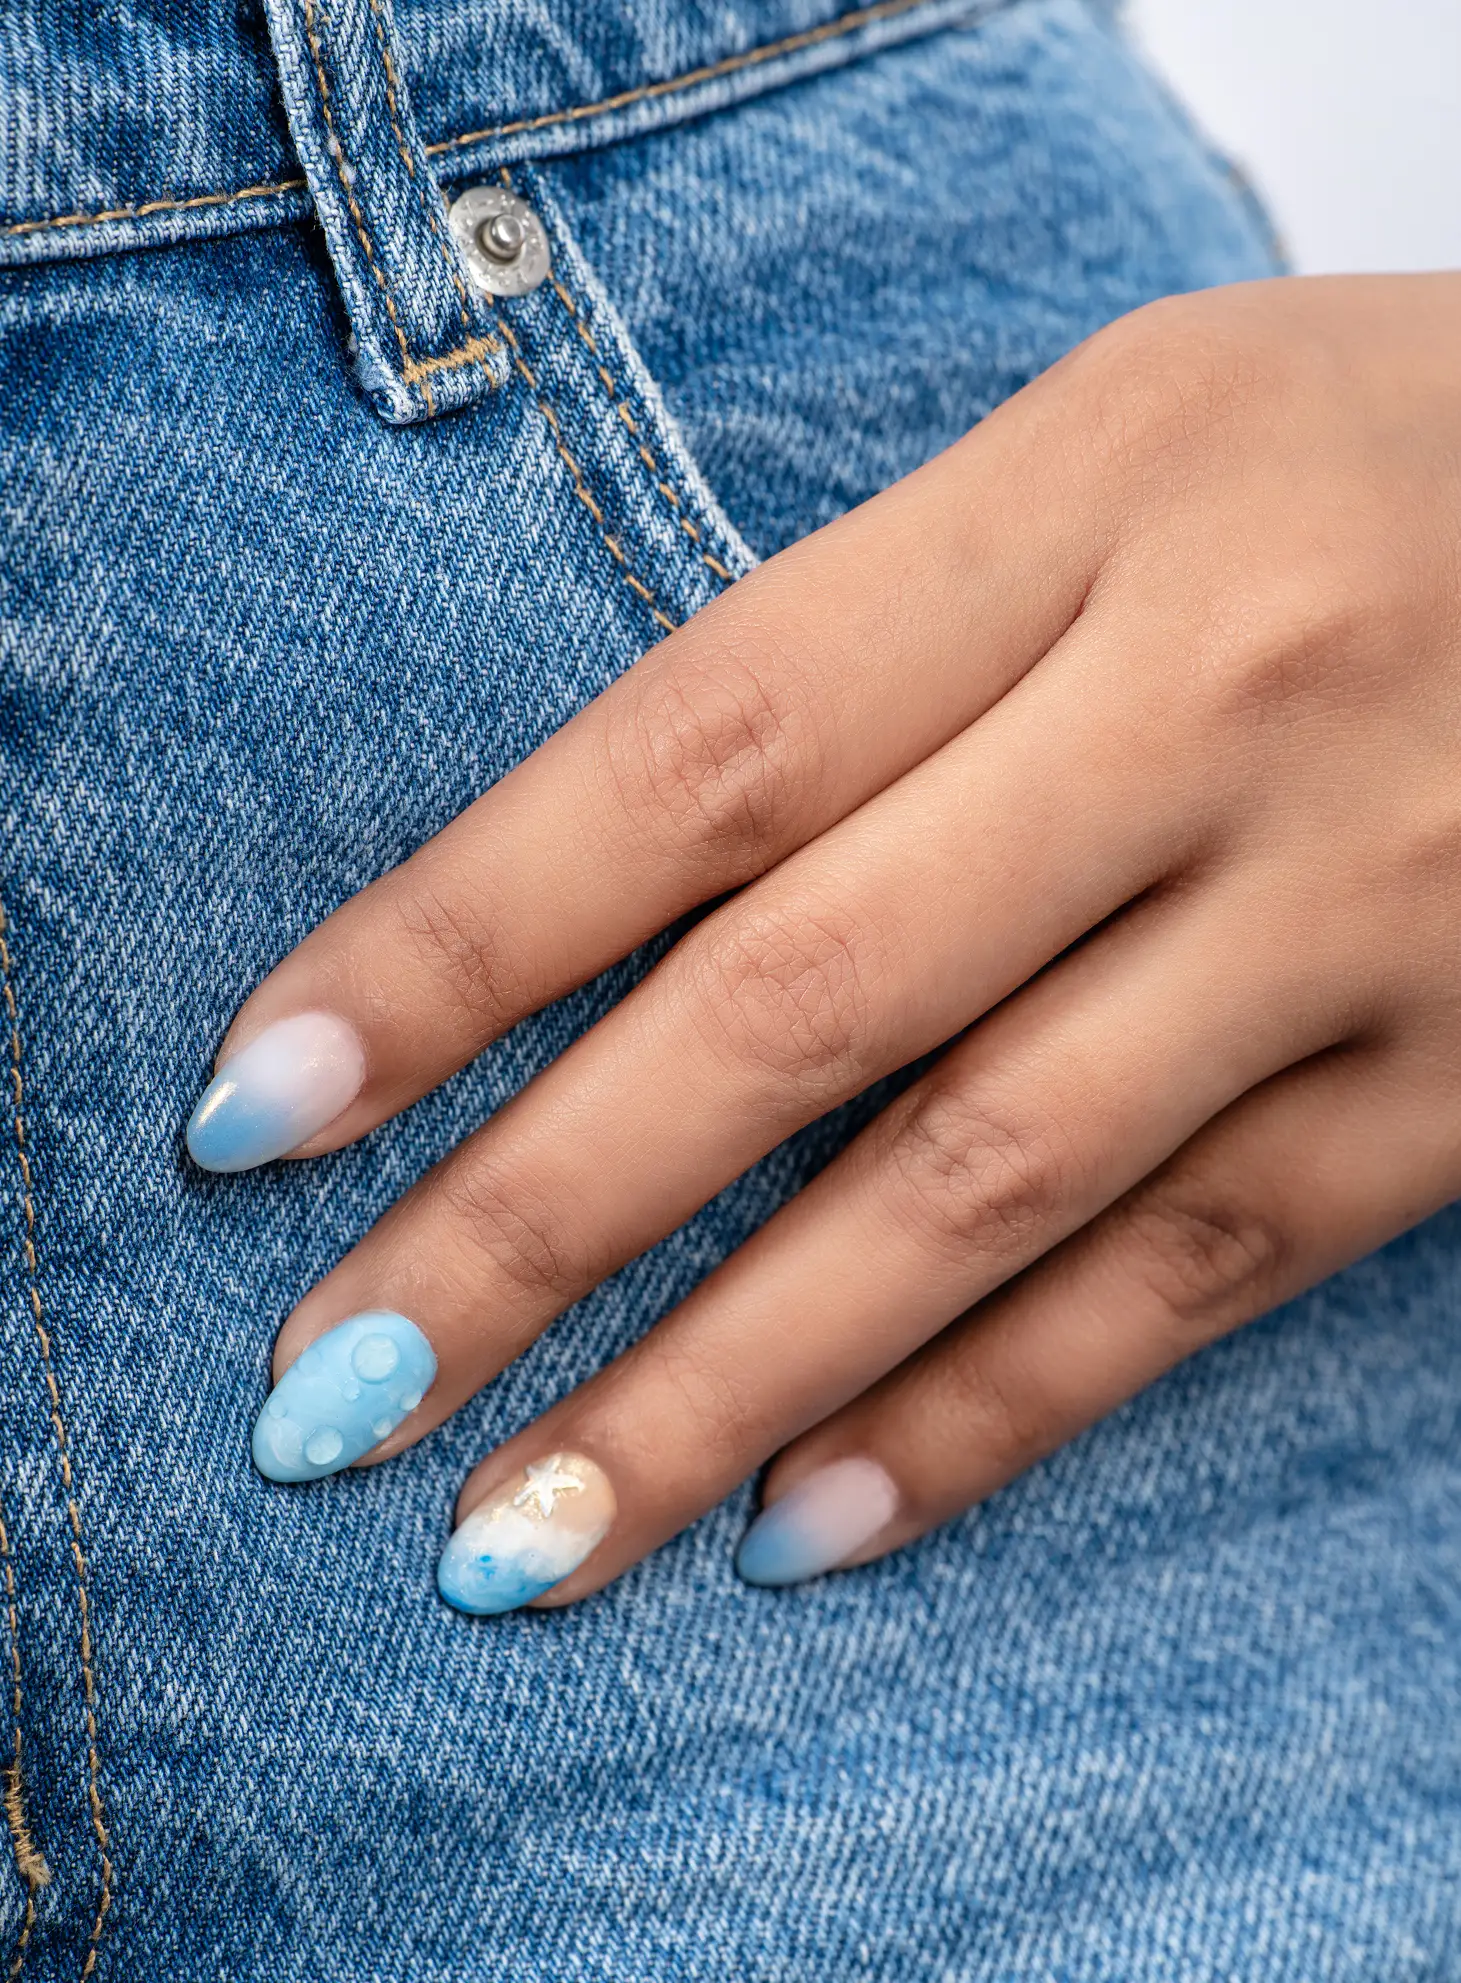
Builder gel nails can look flawless when applied correctly, but small application mistakes can quickly lead to lifting, cracking, uneven surfaces, or premature wear. Problems may come from nail preparation, product thickness, curing, application technique, or everyday habits after the appointment. Spotting the cause makes it much easier to correct the issue and prevent it from happening again.
These are some of the most common problems associated with builder gel nails and the practical fixes worth knowing.
Lifting around the edges
Edge lifting usually appears when the nail plate has oil, moisture, or residue before gel application. Poor product placement near the cuticle also contributes to separation. Cleanse the nail thoroughly, gently remove surface shine, and leave a slim gap around the cuticle area. Apply thin layers and seal the free edge neatly. Avoid picking lifted sections, since this action may damage the natural nail.
Cracks across the gel
Cracks usually appear when the gel layer lacks balanced thickness or receives repeated pressure. Very thin areas offer little support, while excessive thickness adds unnecessary weight. Shape the builder gel with an even apex and smooth sidewalls. Cure every layer according to the product instructions. Replace severely cracked product instead of covering the damaged area with another thick layer.
Bubbles inside the gel
Tiny bubbles create an uneven appearance and sometimes weaken the manicure. Rapid brushing, aggressive product movement, or trapped air inside the gel may cause them. Pick up a controlled amount of product and guide it gently across the nail surface. Avoid repeatedly brushing the same spot. Inspect each nail before curing, since curing locks bubbles into the finished layer.
Uneven or bulky nails
Uneven builder gel usually results from poor product distribution. One side may appear thicker, while the center lacks proper structure. Place a suitable bead near the center and guide it toward the sidewalls with gentle strokes. Turn the finger downward briefly so the gel settles naturally. Check every angle before curing, then refine the surface with a file if required.
Gel that feels too soft
Soft gel after curing may signal insufficient curing time, an incompatible lamp, excessive product thickness, or an incorrect lamp wavelength. Follow the gel brand’s curing instructions and use the recommended lamp. Thin, controlled layers cure more evenly. Avoid touching or filing the surface until the product fully cures, since incomplete curing may affect both durability and comfort.